|
Night Ops: Weight: 200 - RPs: |
DEPLOYMENT TEAM
|
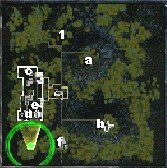
No way over it, around it, under it or sideways: this mission is a certified bitch on wheels - greased wheels of spinning lightning. Ok! You have a team rep to keep up. You're low on weight and high on need. Let's hope your team is up to the challenge.
You have only one real objective in this mission: Extract. All other objectives are secondary... just my kind of mission. You have 18 minutes to accomplish everything you can. You should be able to accomplish every single mission objective, have time to repair, and to salvage at least one mech. Also, there's enough resources available, if you are careful, to allow you to drop 2 Repair Trucks and still salvage at least one Atlas; if you can manage on one Repair Truck, you can salvage both Atlases!
[This mission can be done with 2 Atlases as a smash-and-grab, barely; esp if one is loaded with two Long Tom artillery pieces and one is configured as a short-stop bodyguard. The timing is tight though; the Atlases are so slow, it takes almost the whole mission time just to march them to Extract]
Here is another way, leaning on our Sharpshooting abilities and Shadow's control over light mechs. Check the Team Loadouts above. I'll present this mission scenario by reverse-countdown so you can see how it is synchronized.
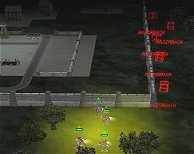
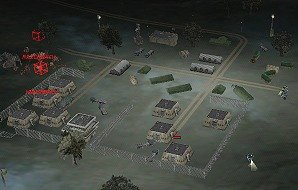
18:00 - Run North and up to the wall of the Base. Jump the Anubis up and target the mechwarrior barracks, powering up the 6 Razorbacks. (Usually some will head around East to the gate; some will jump over the wall. Ambush the jumpers. If you then jump inside the wall, the piggies that headed that way will come back at you. It's better to try to split the Razorbacks up and take them in two small groups.)
here, piggy, piggy...14:37 - One Sha Yu severely damaged; drop Repair Truck (outside the walls of course). While she repairs, 2 Sha Yu, Starslayer and Anubis jump the wall, take out the Generator (SecOb#D). Keep to the West side of the base to avoid the front LRM turrets.
Powered down13:30 - Grab control of the Weapons Facility (SecOb#E) (North) from the Partisan and Centipede tanks, gaining Thunderbolt Missle tech. Sha Yu/Starslayer team returns to outside southeast corner of the base and repairs up at the waiting truck. Anubis heads North inside the base.
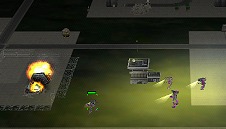
12:53 - Anubis blows the fuel tanks at SecOb#C, killing the Generator and damaging the waiting Atlas and Shootist to varying degrees. Anubis runs back southeast to waiting team & repairs. Is followed by lumbering mechs.
12:01 - All out and repaired. Heading South, avoiding the front gate area and the Atlas at the turrets on the hill there, towards SecOb#F. Run into Bushwacker/Razorback team. (However, that second Atlas also guards a Resource Building so it's your choice <or need>. We skipped it this time.)
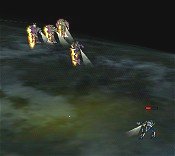
Oh, lordy! Angels o' doom!10:22 - Take on the Hunchback/Hollander team guarding the Industrial Complex (SecOb#F). Caught on the way by the trailing Atlas/Shootist team and a trailing Hollander.
8:05 - Finished with Hollanders & Atlas; send Salvage for Atlas. Drop second Repair Vehicle (that Atlas hurt). Kill Industrial Complex. Grab 2 Resource Trucks. Head Northeast towards SecOb#B.
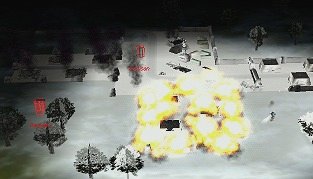
It's so prettyhere at night, what with the napalm and all...7:04 - Finish with Razorbacks at Ammo Dump Beta (SecOb#B). All repairs done. Run North and East along the ridge.
5:59 - Hit Hill Bravo; take on ridge Bushwacker and Razorback. Stir up guards of Ammo Dump Alpha (SecOb#A): 2 Hunchbacks, 2 Razorbacks.
4:29 - Ammo Dump Alpha blown; last Hunchback/Razorback team taken out. Run North.
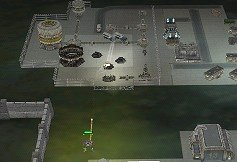
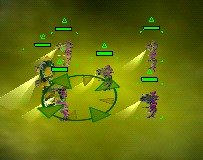
The potential for danger here is obvious...3:44 - Run into last Shootist guarding path to Extract. Take him on.
2:13 - Reach Extract. Brought the Atlas. (Last time we took that second central Atlas, but he was so banged-up it took forever for him to limp to Extract and the Mission timer almost expired.)
All Objectives accomplished; this team rules

Written by relayer. Preserved here as part of the-spoiler.com archive. Original source: The Spoiler.