|
Endgame: Weight: 450 - RPs: 16000 |
DEPLOYMENT TEAM
|
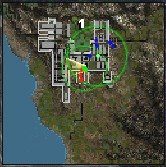
Overture! Curb the lights! This is it! Our night of nights! No more rehearsing and nursing your grunts... too many ways for this to go to describe every approach. Here's my favorite one.
The Partisan feebs can be amusing or aggravating, helping and just as easily hindering by opening gates too soon, etc. They also force you to a timetable of sorts, which can be fun. You can let them all die, of course; they are prone to suicidal rushes... Help 'em or just stay outta their way; bottom line, this comes down to you and the good Colonel Renard.
Take whatever mechs you think you'll need... or trust in your skill and choose similar to the above. Shrive thyself and begin.
Positioning Run & Breach
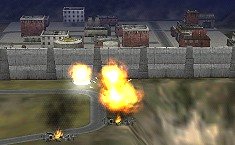
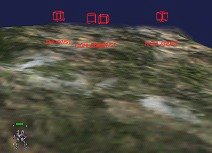
Southeast Turrets ApproachYou Drop in the SouthWest. Immediately start running North and East, looking for the clear trails that head that way through the tree cover. There's a high ridge that you can see on the map, south of the Southeastern Long Tom turret installation; make for that. If you hurry, you'll be just in time to catch the patrol of Bushwackers and Hollanders that come over the rise. Waste no time taking out this patrol; the Partisan force is at the Eastern Gate and you don't want this crew breathing down your back.
Now head directly North, right at the Long Tom turret enclosure. Send an Anubis forward to leap and grab the controls (slow mechs will be devastated by the 'Toms but anything over 86kph has a better chance of running faster than the turrets can track). Get the controls, then jump everyone in; you'll have to send anyone who can't jump around to the Eastern Wall to help the Partisans get in. [If your main team is non-jumping, keep them all together and take the East Gate.]
[NOW: you have a choice: you can do the whole Fortress, or you can... sissy out and jump to the top of the map, shoot a building to trigger Renard and his Forces, and win the game with a scurvy, low-down dog cheat like that. But of course you won't.]
Run fast and the Long Toms can't track youPrimary Op Point: South Gate Controls
This approach is to preserve as many of the Partisan mechs as you can by aiding their progress through the base.
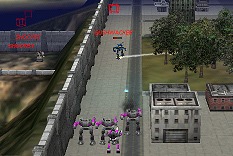
Once you are in, run north, up the ramp, then turn sharply left (West). This small alley between the wall and the city and park is crucial to your attack. Move quickly along it towards the turrets until you have a good line-of-fire to the South Gate controls and the breach in the wall. Keep leapfrogging forward to capture the turret controls and the gate controls. There's also a Resource Building nearby.
Damnation Alley(By this time, the Partisan mechs should have blown the wall and be coming from the eastern part of the installation... it helps also if you initially sent someone to help them (your non-jumping mechs have to get in that way anyway and you'll want the two Resource Buildings over there). You're doing good if you end up with two Jagermechs to help you, as well as some Urbans, LRM and Swarm carriers. If you don't... oh, well)
The Partisans are doin' it for themselves
at East Gate but could use a little help[if the firefight there blows the gate controls, the Swarm carriers can't enter; blow a hole in the wall opposite them to help them in]
Hopefully, you will reach the South Gate controls before the enemy can really get into motion. They'll help against the following targets, which will object to your actions:
From outside the South Gate - 2 Bushwackers, two Hunchbacks, 2 Shootists.
From the West dropship area: 2 more Bushwackers
From the North, down the hill from Steiner HQ: 2 Hunchbacks
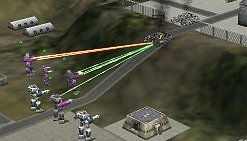
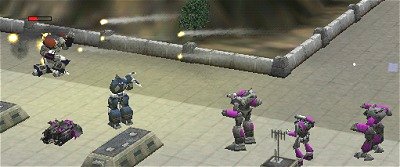
This is the initial onslaught. Keep the gate controls to force the attackers to jostle through the much-narrower wall breach there. Keep cool, stay in formation, and go for headshots, using the crowded conditions to restrict the enemy's rush. Do not let them get the South Gate turrets back, even if the holding mech/s take a beating. It also helps tremendously to have the small internal North Gate Controls captured, which will slow down the Hunchbacks' approach.
South Gate controls must be heldIf you can take this wave relatively intact, you're in good shape. Perhaps grabbing the two downed Highlanders would be a good idea.
Secondary Op Point: Dropship
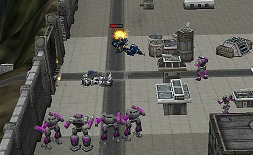
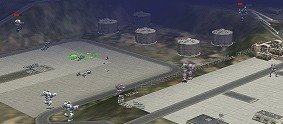
A buncha Hunchbacks guard the dropship landing areaWest of the turrets is a sunken area containing several aircraft, a Steiner Dropship, some ambulances, and 4 Hunchbacks. This is the Partisans' next target and they'll head right for it, so follow them or they'll get in trouble.
The Northwest Pit of the landing area near West GateGenerally you get backed up into the North, against the slope wall and liquid storage tanks and within the range of the two Zeus/Hunchback teams on the upper deck, guarding the West Gate and turret controls. You'll probably stir up the 6 Legion tanks on the upper north deck also, guarding the Repair Bay and the two Resource Buildings.
Do not stand in our way, foolish earthling.Once you are through this mess, you're basically home free. You'll see some sensor pings outside the West Wall; a pair of Bushwackers and a pair of Hollanders. You'll need to take them out at your leisure to assure the end of the game. You'll see the ambulances at the Southwest corner (don't even think about it). You'll see several sets of mean nasty turret controls for the West Wall installations and a Resource Building in the Northwest. Grab everything on that side of the base. Take some time to repair and salvage. This is your breather. Nothing else will happen til you take out the Steiner High Command buildings.
Taking Steiner High Command and Renard
Renard and his command will come from the top of the hill, due North and above Steiner High Command, as soon as the building is demolished (this includes the two Annexes).
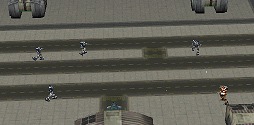
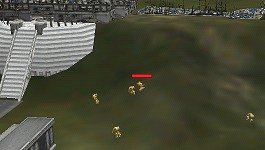
The last hurrah of Steiner High CommandThe south entrance of the complex, on the middle hill, will disgorge a horde of Powered Armor from the Barracks on approach, so watch for them.
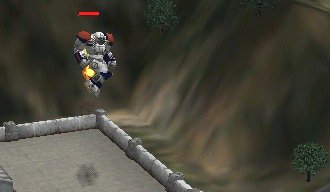
Honey, it's time for a new flea collar...One other critical piece of knowledge: Renard's Atlas is an Elite model with jump jets. He's carrying a Clan Gauss Rifle, a Clan Ultra Heavy Autocannon and other goodies (once he showed up packing a Long Tom; sometimes Clan ER PPCS... it varies). He is escorted by 2 Shootists and 2 Highlanders, who will attempt to distract you from Renard's jumping Atlas.
An Atlas with jump jets! I want it!!!Anything else said here is moot. There are so many ways it can go... just hold formation, target Renard, stay steady. It's better to set up on the pavement at the foot of the hill and let the tree cover break up the attacking formation and buy you some targeting time. Use that huge ammo dump in the middle of the base to your best advantage. That deep ditch at the foot of the mountain is useful also.
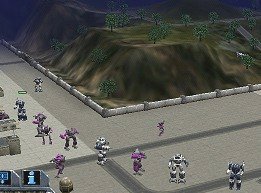
I'm... waitin' for my man....Keep in mind all the lessons learned in this campaign for freedom on Carver V, and you will attain your victory, be adored 'n worshipped and incidentally have a much better rating on MercNet (How about that, Diaz? 😛)
Good luck, Commander... see you on the Periphery ^_~
Commander Chimiko, OPB
CO, Company B
Colonel Renard bows humbly to the supreme skill of the Pink Berets
FINAL CASHOUT:
10,252,220 C-bills
4 Ace Sharpshooters - No pilots deceased


Written by relayer. Preserved here as part of the-spoiler.com archive. Original source: The Spoiler.